¶ Stickforge Mod Uploader
You made a Stickforge mod and want to share it to the community? Stickforge modders can use a tool called Stickforge Mod Uploader to upload their mods to the Steam Workshop to share them with the community. You can use it for Maps, NPCs, Items, Effects, Gamemodes.
In this article you will learn how to download and use the Stickforge Mod Uploader.
Keep in mind there is a few requirements to use this tool :
- You must have a computer with Windows 10/11 installed
- You must have a Steam account with Steam installed
- You must have an internet connection
- You must have Stickforge in your Library
- Your mod must be ready to share and must includes a config.json5 settings file at the root folder. More information
¶ Step 1. Download and Launch Stickforge Mod Uploader
1) Open your Steam application, make sure you are connected to the internet. Then go in your Library.
2) Once you are in your Library, search for Stickforge in the text area :
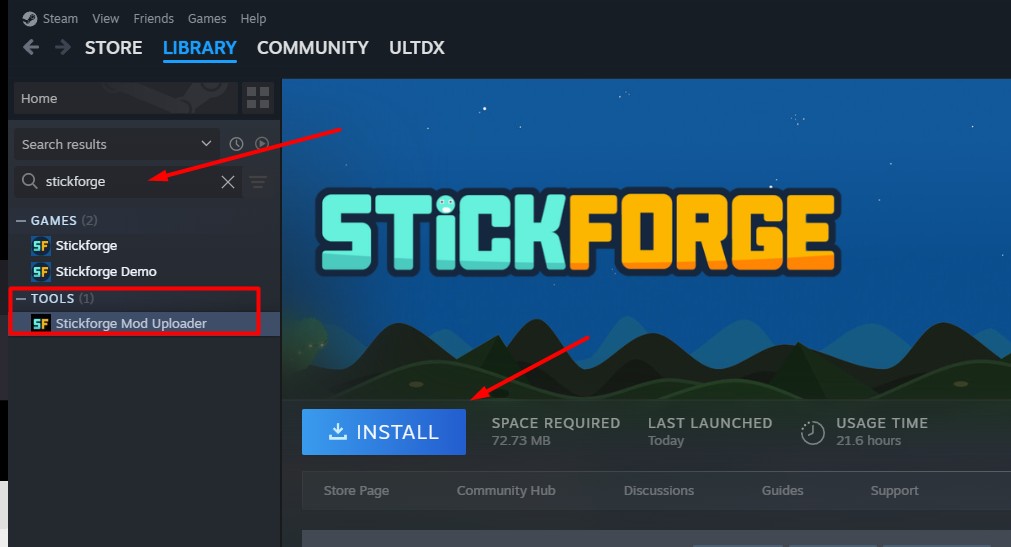
3) You should see Stickforge Mod Uploader and you can click on the item in the menu. Then click on the INSTALL button.
4) Once installed, click LAUNCH button
¶ Step 2. Upload your mod to the Steam Workshop
Now you have the Stickforge Mod Uploader ready and launched, you will be able to upload your first mod!
It should look like this :
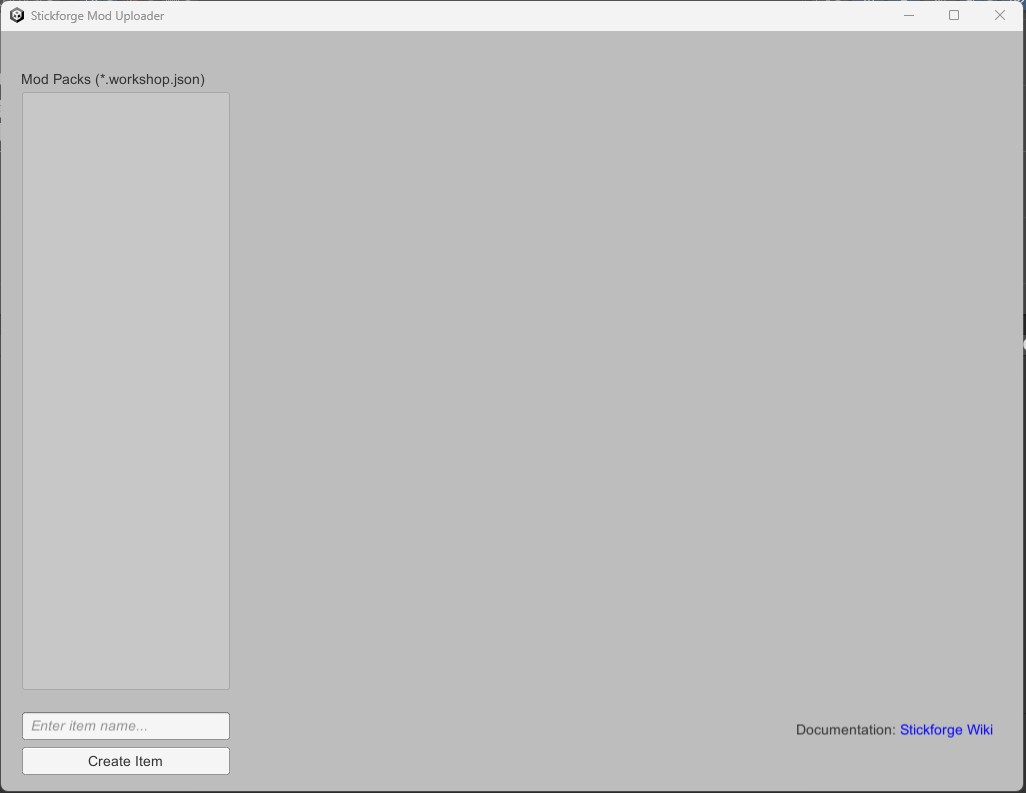
1) You need to create a new “Item” which represents your mod. To do that, write your new item name (for example: “The Kingdom Of Angels”) in the bottom left corner, then press the Create Item button. If everything goes well, you should see a success message saying the Item has been successfully created. It is also possible that if it's the first time you use the Steam Workshop, you get a message asking you to accept the Steam Workshop agreement. In that case, proceed to the end and validate. Then you should be able to proceed with the next steps. Now you should have something like that:
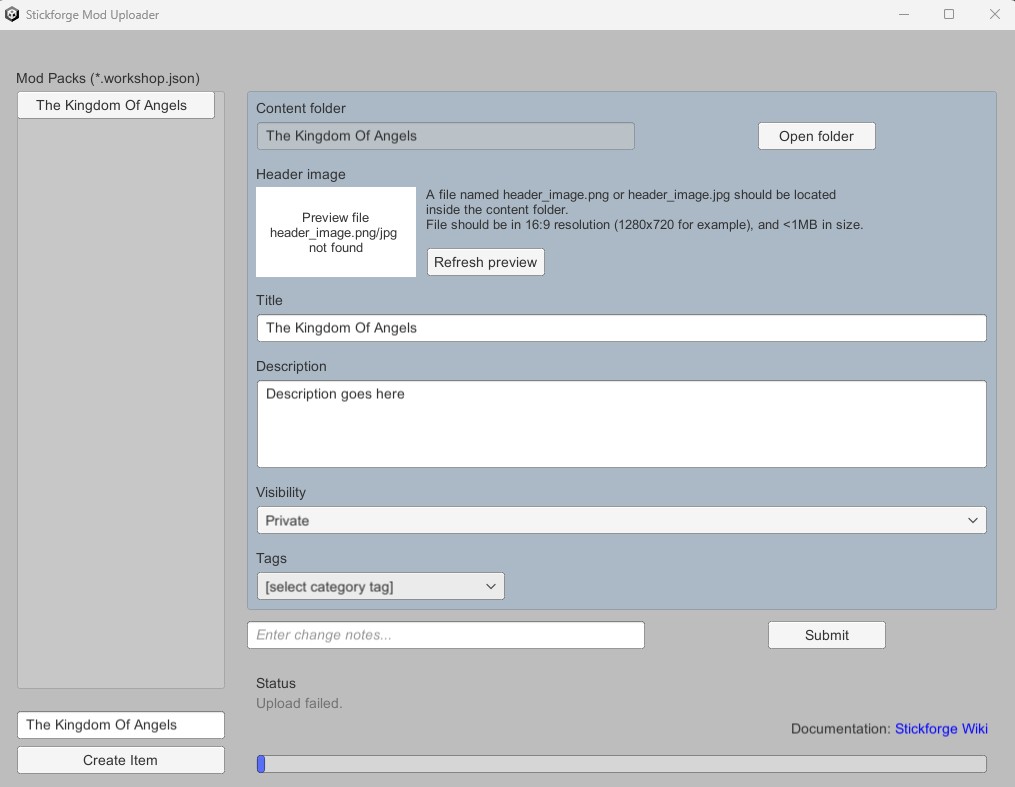
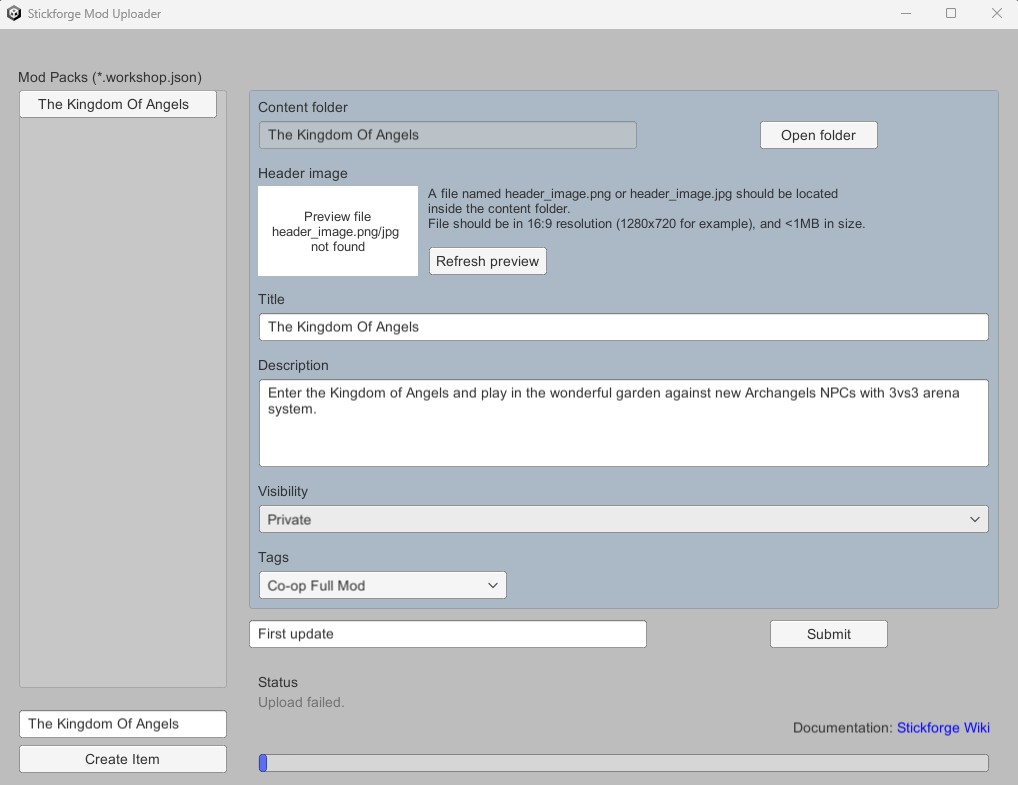
2) Now that the Item has been created, you need to add a preview image and the content of your mod. Start with the easiest part: write the Title of your mod in English, write the Description, and choose the Visibility (for example, if you are still working on it, you may not want to set it to Public yet. Don't worry, you will be able to change all of that later). Choose a Tag that matches what your mod is. If there are only NPCs or only items, for example, choose the suitable tag. Otherwise, if your mod has multiple items, choose the Full Mod tags (subject to change later). DON'T press Submit yet.
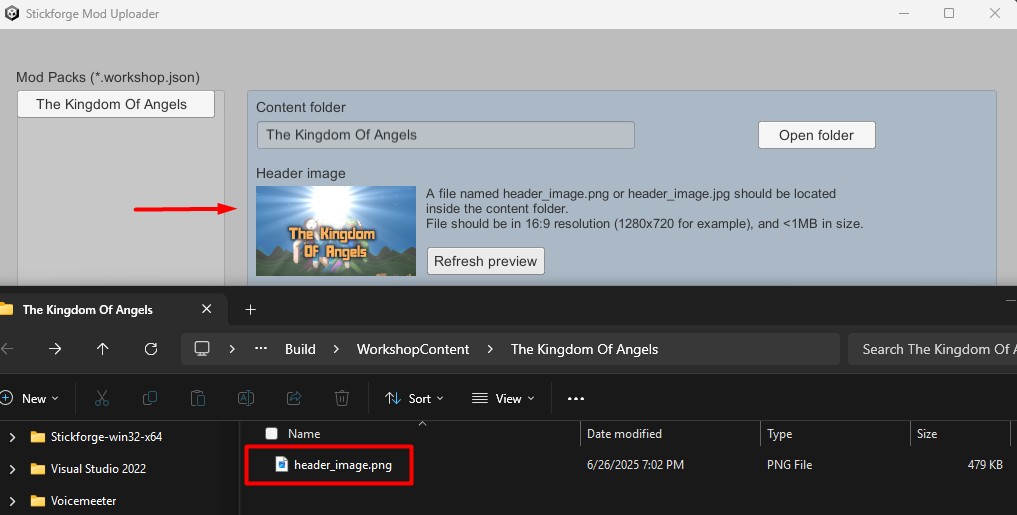
3) Now it's time to copy the preview image and the content of your mod into the upload folder. Click on the Open Folder button (top right corner). Your file browser should open to the correct location of your upload folder.

Here you can create the preview image for your mod using a tool of your choice (I use Gimp, but you can use Paint or anything else). Make it 1280x720 pixels. Save it in JPG (recommended) or PNG format. IMPORTANT: You need to name it header_image.png (or .jpg).
Automatically, if you go back to the Stickforge Mod Uploader, you should see the preview image now. Otherwise, click on Refresh preview.
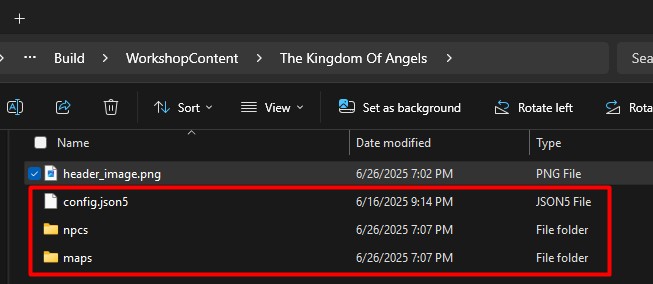
Next, copy the content of the mod you created into the upload folder (the one that opened when you clicked the Open Folder button). The content of your mod directory should look like this (example with the Stickforge Official Mod):
4) Once everything is ready, click on the Submit button. It will take a few seconds, maybe a few minutes, depending on the size of your assets, to upload all the content to the Steam Workshop. Once successful, you will get the link to your assets on the asset store. 🥳
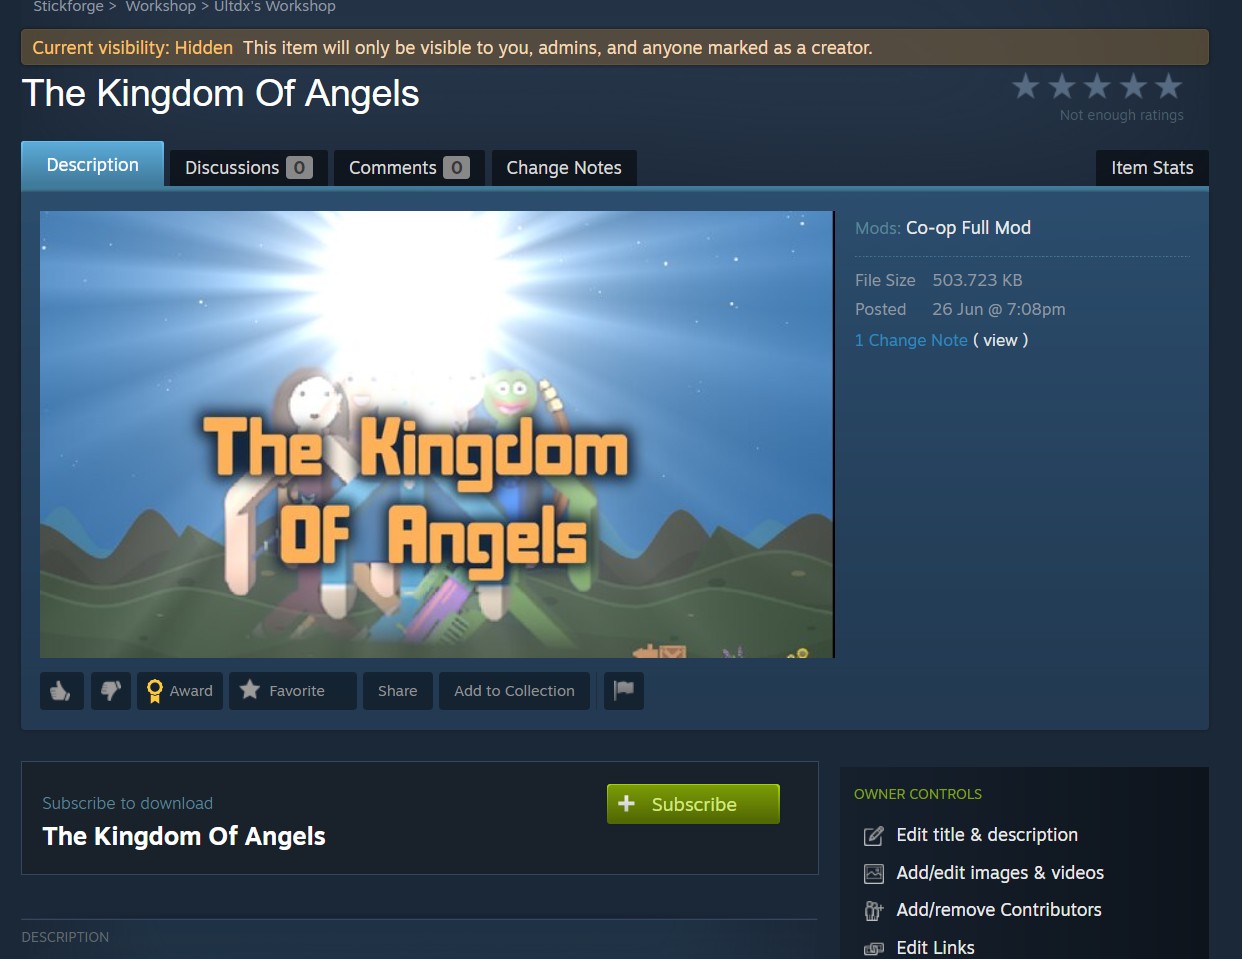
Congratulations! Your mod is now on Steam Workshop and all the servers administrators can download it.
To download a mod to your own server to play with it check the mod creation article.